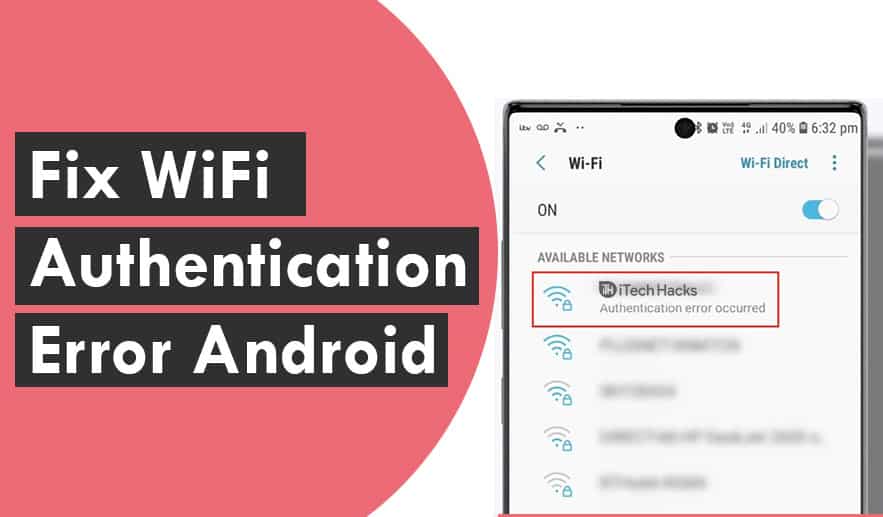
You won’t be able to access the internet properly if the Wi-Fi settings screen on your Android phone or tablet says there was an authentication error. There are a few things you can attempt to fix the problem and get online again.
Why Am I Getting an Authentication Failed Error?
There isn’t a single, obvious cause for this issue, but here are several possibilities to consider:
- You’ve entered the incorrect password.
- A problem with your phone or network hardware.
- The router has a bad connection.
- The network settings are messed up.
- The frequency band is causing problems for your phone.
How Do I Fix a Wi-Fi Authentication Error?
The following is a comprehensive list of everything you should try. We’ve included all of the finest solutions from a wide range of users who have encountered this issue. Please make sure you go through this list in the order we’ve laid it out so you can start with the easy options.
- Turn on airplane mode, then turn it off. Toggling this function on and off effectively reboots the wireless radios and forces a new connection to the Wi-Fi network to be established.
- If you know you haven’t changed the Wi-Fi password recently and the network and your phone are both working properly, this is the most likely resolution for this problem.
- Your phone should be restarted. Restarting your phone (also known as rebooting) is simple and typically solves issues like this.
- Delete the Wi-Fi network from your phone’s saved networks list to “forget” it. To do so, go to the Wi-Fi settings and select Forget from the gear/settings icon next to the network that is displaying the issue. After that, reconnect your Android device to Wi-Fi by manually inputting the password.
- Reset the network settings on the phone. Network settings reset deletes all network-related data, including all saved Wi-Fi networks and other associated data (not simply the one you “forgot” in the previous step). The idea is to reset your computer as much as possible without removing any of your personal files (1the last step below). Reset Wi-Fi, mobile, and Bluetooth by going to Settings > System > Reset options > Reset Wi-Fi, mobile, and Bluetooth. After this step, you’ll need to reconnect to the network.
- This should be looked into as a slow internet connection. The authentication problem could be caused by factors such as bandwidth overload and signal interference.
- Restart the network hardware if necessary. If you’re using a public network (like a Starbucks or a library), you may not have the authority to do so, but make every effort to complete this step. Except for the router, there’s not much else to blame for the authentication difficulty after dealing with the password and the phone itself. This is especially true if you can connect to Wi-Fi on other networks just fine and this network is the only one that doesn’t.
- Check how many devices are connected to the network at the same time. Although it’s unusual to surpass the router’s maximum device capacity, especially on a home network, this could be the cause of your device’s authentication issue.
- Reset the network hardware if necessary. This will remove all router customizations made since it was first set up. Following that, you’ll need to re-create the Wi-Fi network and reconnect your phone to it (see Step 3).
- If your router broadcasts on both frequency bands with the same SSID and password, split the 5 GHz and 2.4 GHz networks if your network hardware allows it. Changing the network name and password for one of the bands has helped some people fix the Wi-Fi Authentication Problems on Android. When the phone detects two separate networks with the same credentials, it may become confused or enter hyper-secure mode, preventing you from accessing any of them.
- To resolve the Wi-Fi authentication problems on android, change the Wi-Fi channel. To discover how to do this, click the link at the bottom of Step 9. If there are multiple other Wi-Fi networks within range, changing the Wi-Fi channel number can assist avoid interference.
- Create a static IP address for your phone. Because your router may be having difficulties issuing a functional address to your device for any reason, choosing a static IP address stops it from changing and relieves the router of the need to use DHCP.
- Check for updates to the Android operating system. This is a bit more of a reach than the rest of the steps, however, there may be an update you haven’t installed yet that fixes the problem. At the very least, it’s worth a shot before going on to the next step.
- Reset your phone to factory settings. This is the last item you can change on your phone to resolve the problem. It will fully wipe your device’s configurations, including all locally saved media files, apps, and other data.
- Contact your device maker (e.g., Google if you’re using a Pixel, Linksys if you’re using a Linksys router), your network administrator, and/or your internet service provider. When you call tech support, make sure to describe everything you’ve previously attempted (everything stated above), because you’ve done everything you can at this point, and all that’s left is to alert those companies, as the problem looks to be with one of them. If your phone is damaged, your internet service provider or hardware maker may be able to attempt a hardware repair, or your internet service provider or hardware maker may be able to check your router/modem further for Wi-Fi-related issues, depending on who you contact. The network administrator may need to make certain security adjustments in some circumstances.
